Setting Up Obsidian for iOS
Setting up Obsidian to sync between PC and iOS devices via Git — using either GitHub or a self-hosted Forgejo server over Tailscale
How to set up Obsidian to sync a vault with a Git repository on an iOS device.
At this point I’ve gone through several iterations of setting up Obsidian to sync notes vaults as git repositories across multiple devices, including iOS. This setup guide is a note for myself for when I need to re-setup any devices in the future, and for anyone interested in how I achieve this. The iOS setup is the outlier, and can be a bit clunky. It can be setup to work well and run stabily, with some finetuning.
This guide covers two options for the Git remote:
- Option A — GitHub. Easiest to set up, free, your notes live on GitHub’s servers.
- Option B — Self-hosted Forgejo over Tailscale. Notes never leave devices you control, reachable only on your private tailnet. More setup, more privacy.
The iOS workflow is varies a bit for each option. At this point I am using option B, for the purpose of data privacy. For a while I was using git-crypt to encrypt notes at rest in the GitHub repo, but I found it added too much friction to the workflow, and therefore chose unencrypted notes on a self-hosted server instead. My Forgejo server is running in a Docker container on a Windows machine, with a Tailscale sidecar for secure access. It’s not too hard to set up if you’re comfortable with Docker and Tailscale, but it’s definitely more work than using GitHub.
1. Create your vault’s repository
Option A — GitHub
- Create a new GitHub repository.
- Copy the repo URL — use the HTTPS form:
https://github.com/<user>/<repo>.git - Create a personal access token (GitHub user global settings > Developer Settings > Personal access tokens > Tokens (classic))
- Note: It must be a classic token. It will not work with the newer fine-grained token.
- Copy the PAT, e.g.
ghp_<your_36_digit_PAT>
Option B — Self-hosted Forgejo over Tailscale
I run my own Forgejo instance inside Docker on a Windows machine, exposed only to my Tailscale tailnet — so notes are version-controlled but never traverse the public internet or any third-party cloud.
The full setup is out of scope for this post, but the high-level shape is:
- Forgejo running in a container, with a Tailscale sidecar container sharing its network namespace.
- Tailscale Serve terminates HTTPS with a real Let’s Encrypt cert on
forgejo.<tailnet>.ts.net. - Tailnet ACLs restrict which devices can reach the server.
- No ports exposed to the LAN or public internet.
For the purposes of this guide you just need:
- A Forgejo (or Gitea) instance reachable at
https://forgejo.<tailnet>.ts.netfrom your tailnet. - A repository created on it, e.g.
https://forgejo.<tailnet>.ts.net/<user>/<repo>.git. - Your iOS device signed into the Tailscale app and connected to the same tailnet.
Authentication can be either an SSH key (for desktop) or a Forgejo access token (for iOS, since the Obsidian Git plugin uses HTTPS only). Generate the token in Forgejo: User Settings > Applications > Generate New Token. Scope it to write:repository at minimum.
2. Desktop Setup
- Clone the repository, using whichever authentication method you prefer (SSH is fine here — the iOS-specific HTTPS limitation only applies on iOS).
- Either add the whole
.obsidian/directory to your.gitignore(see Notes section below) or at least ignore the content of the Obsidian git plugin if you’re using it. It will mess up your iOS setup.
3. iOS Setup
3.1 Initialise the Obsidian directory
- Install the Obsidian app on iOS from the App Store.
- Launch Obsidian and create a new vault — the name doesn’t matter, the point is to initialise the
On My iPhone/Obsidian/<vault>directory in iOS Files. - Close the Obsidian app.
3.2 Install and configure iSH
- Install iSH from the iOS App Store.
- Launch iSH and install the packages you’ll need:
# Run this immediately after installing iSH
apk update
apk add bash git openssh vim gnupg
3.3 Mount the Obsidian vault inside iSH
iSH runs in its own sandboxed filesystem and can’t see the Obsidian vault by default. Mount it:
mkdir -p /mnt/obsidian
mount -t ios . /mnt/obsidian
cd /mnt/obsidian
When you run mount -t ios, iOS will prompt you to pick a folder — select the Obsidian vault you created in 3.1.
Note: The mount does not survive iSH restarts. Re-run the
mountcommand each time iSH is relaunched. To make it automatic, add it to~/.profile.
3.4 (Option B only) Add a static hosts entry for Tailscale
Skip this section if you’re using GitHub (Option A).
iSH doesn’t see Tailscale’s MagicDNS, even when Tailscale is connected on the iPad and Safari can reach the host. The iOS Tailscale client routes traffic at the network extension layer, but iSH’s emulated Linux environment uses its own resolver that bypasses MagicDNS.
The fix is a static /etc/hosts entry. Get the tailnet IP from any other tailnet device:
# on a Mac/Linux device with Tailscale connected:
tailscale status | grep forgejo
Then in iSH:
echo "100.x.y.z forgejo.<tailnet>.ts.net" >> /etc/hosts
iOS routes the 100.x.y.z IP through the Tailscale tunnel regardless of how it was resolved, so this works transparently and TLS verification still passes (the cert is for the hostname, not the IP).
To make it survive iSH restarts, add the same line to ~/.profile:
grep -q forgejo /etc/hosts || echo "100.x.y.z forgejo.<tailnet>.ts.net" >> /etc/hosts
3.5 Clone your repository
You must use HTTPS rather than SSH — not because SSH is impossible to set up in iSH, but because the Obsidian Git plugin doesn’t support it.
Option A — GitHub:
cd /mnt/obsidian
git clone https://github.com/<username>/<repo>.git
When prompted for credentials, use your username and the PAT you generated in step 1:
Username: your_username
Password: your_token
Option B — Forgejo:
cd /mnt/obsidian
git clone https://forgejo.<tailnet>.ts.net/<username>/<repo>.git
When prompted for credentials, use your Forgejo username and the access token you generated in step 1.
3.6 Cache credentials so you’re not retyping the token
This works the same for both options:
# 1) Tell Git to use the store helper and where to keep the file
git config --global credential.helper "store --file ~/.config/git/credentials"

# 2) (Optional) pre-set your username to avoid extra prompts
git config --global credential.username YOUR_USERNAME

# 3) Create the credentials file with tight perms
mkdir -p ~/.config/git
touch ~/.config/git/credentials
chmod 600 ~/.config/git/credentials
Now do one HTTPS operation (e.g. git fetch or git push) and enter your username and token. Git will write a line like one of these to ~/.config/git/credentials:
# Option A
https://YOUR_USERNAME:TOKEN_HERE@github.com

# Option B
https://YOUR_USERNAME:TOKEN_HERE@forgejo.<tailnet>.ts.net
Subsequent operations won’t prompt.
3.7 Configure the Obsidian Git plugin
- Reopen the Obsidian app and the vault.
- Settings > Community Plugins > Browse > install Obsidian Git.
- Enter your username and the same token used above.
- Verify it picks up the existing repo and shows the correct remote URL.
Notes
If you are moving between multiple devices with different operating systems — especially if iOS is involved — I strongly suggest adding the entire .obsidian/ directory to .gitignore. You’ll need to manage your Obsidian configuration manually per device, but that’s not a lot of work. You will otherwise spend a lot of time fighting merge conflicts on plugin state and workspace files.
.obsidian/
If you want to share some config (e.g. themes) but not workspace state, ignore selectively:
.obsidian/workspace*
.obsidian/cache
.obsidian/plugins/obsidian-git/
GPG + Obsidian Setup (macOS + iOS)
If you want notes encrypted at rest in the repo (so even GitHub or your Forgejo backups can’t read them), the gpgCrypt plugin is the simplest path.
Note: I have since abandoned this method, as gpgCrypt is incompatible with the Obsidian git plugin. This means all git operations on iOS/iPadOS mobile devices must be done via the ish terminal emulator. While not impossible, it’s not always a user-friendly workflow and has major caveats—especially resolving merge conflicts—that made it not operable enough for me.
Obsidian (gpgCrypt plugin)
To work with iOS, use the OpenPGP.js backend setting in the gpgCrypt plugin settings. Generate keys with the plugin, copy keys created in the vault (e.g. .keys/pub.asc, .keys/sec.asc) to other devices.
Add *.asc to .gitignore so private key material never reaches the remote.
On desktop (e.g. macOS), configure the GnuPG CLI Wrapper backend settings:
- Path:
/opt/homebrew/bin/gpg - Select your imported GPG key.
Tip: If you’re using Option B (self-hosted Forgejo) you’ve already removed the third-party-cloud risk, so file-level encryption may be overkill. If you’re using Option A (GitHub) and the notes contain anything sensitive, gpgCrypt or git-crypt is well worth the setup cost.
And, VOILÀ — finally a markdown-based notes solution synced across all my devices without the use of any proprietary cloud services. And I can even have my gruvbox color theme 🥹
The original post, an outdated guide
Expand here for a much stranger way of doing this manually
This was the initial way I did this and I wrote down the steps. This is much too complicated and makes no sense. I’m keeping the steps here for posterity.
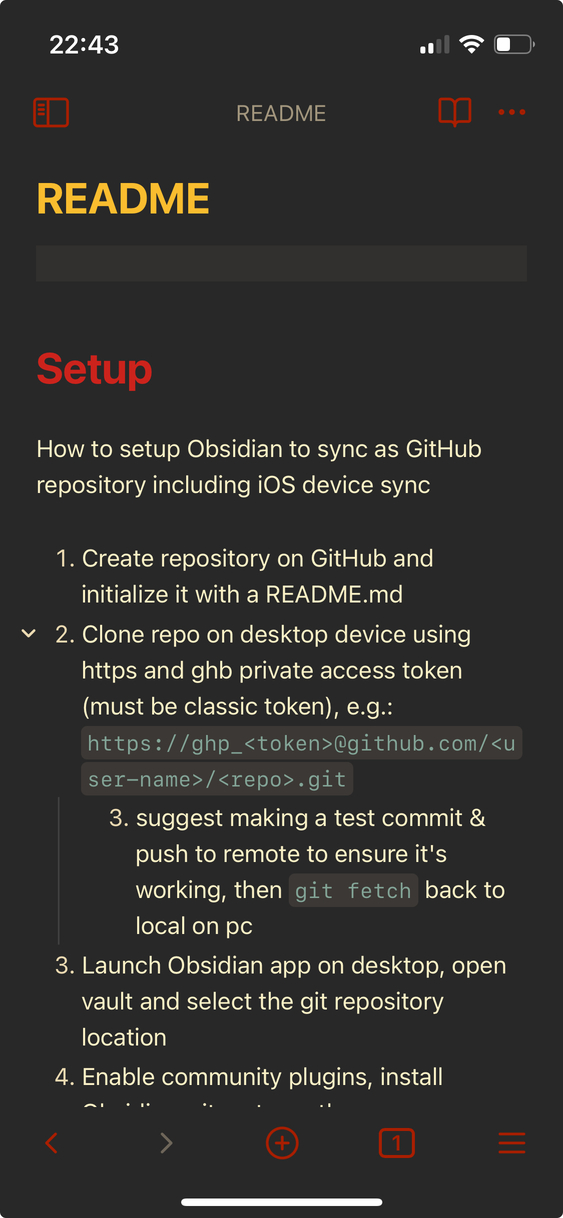
How to setup Obsidian to sync as GitHub repository including iOS device sync
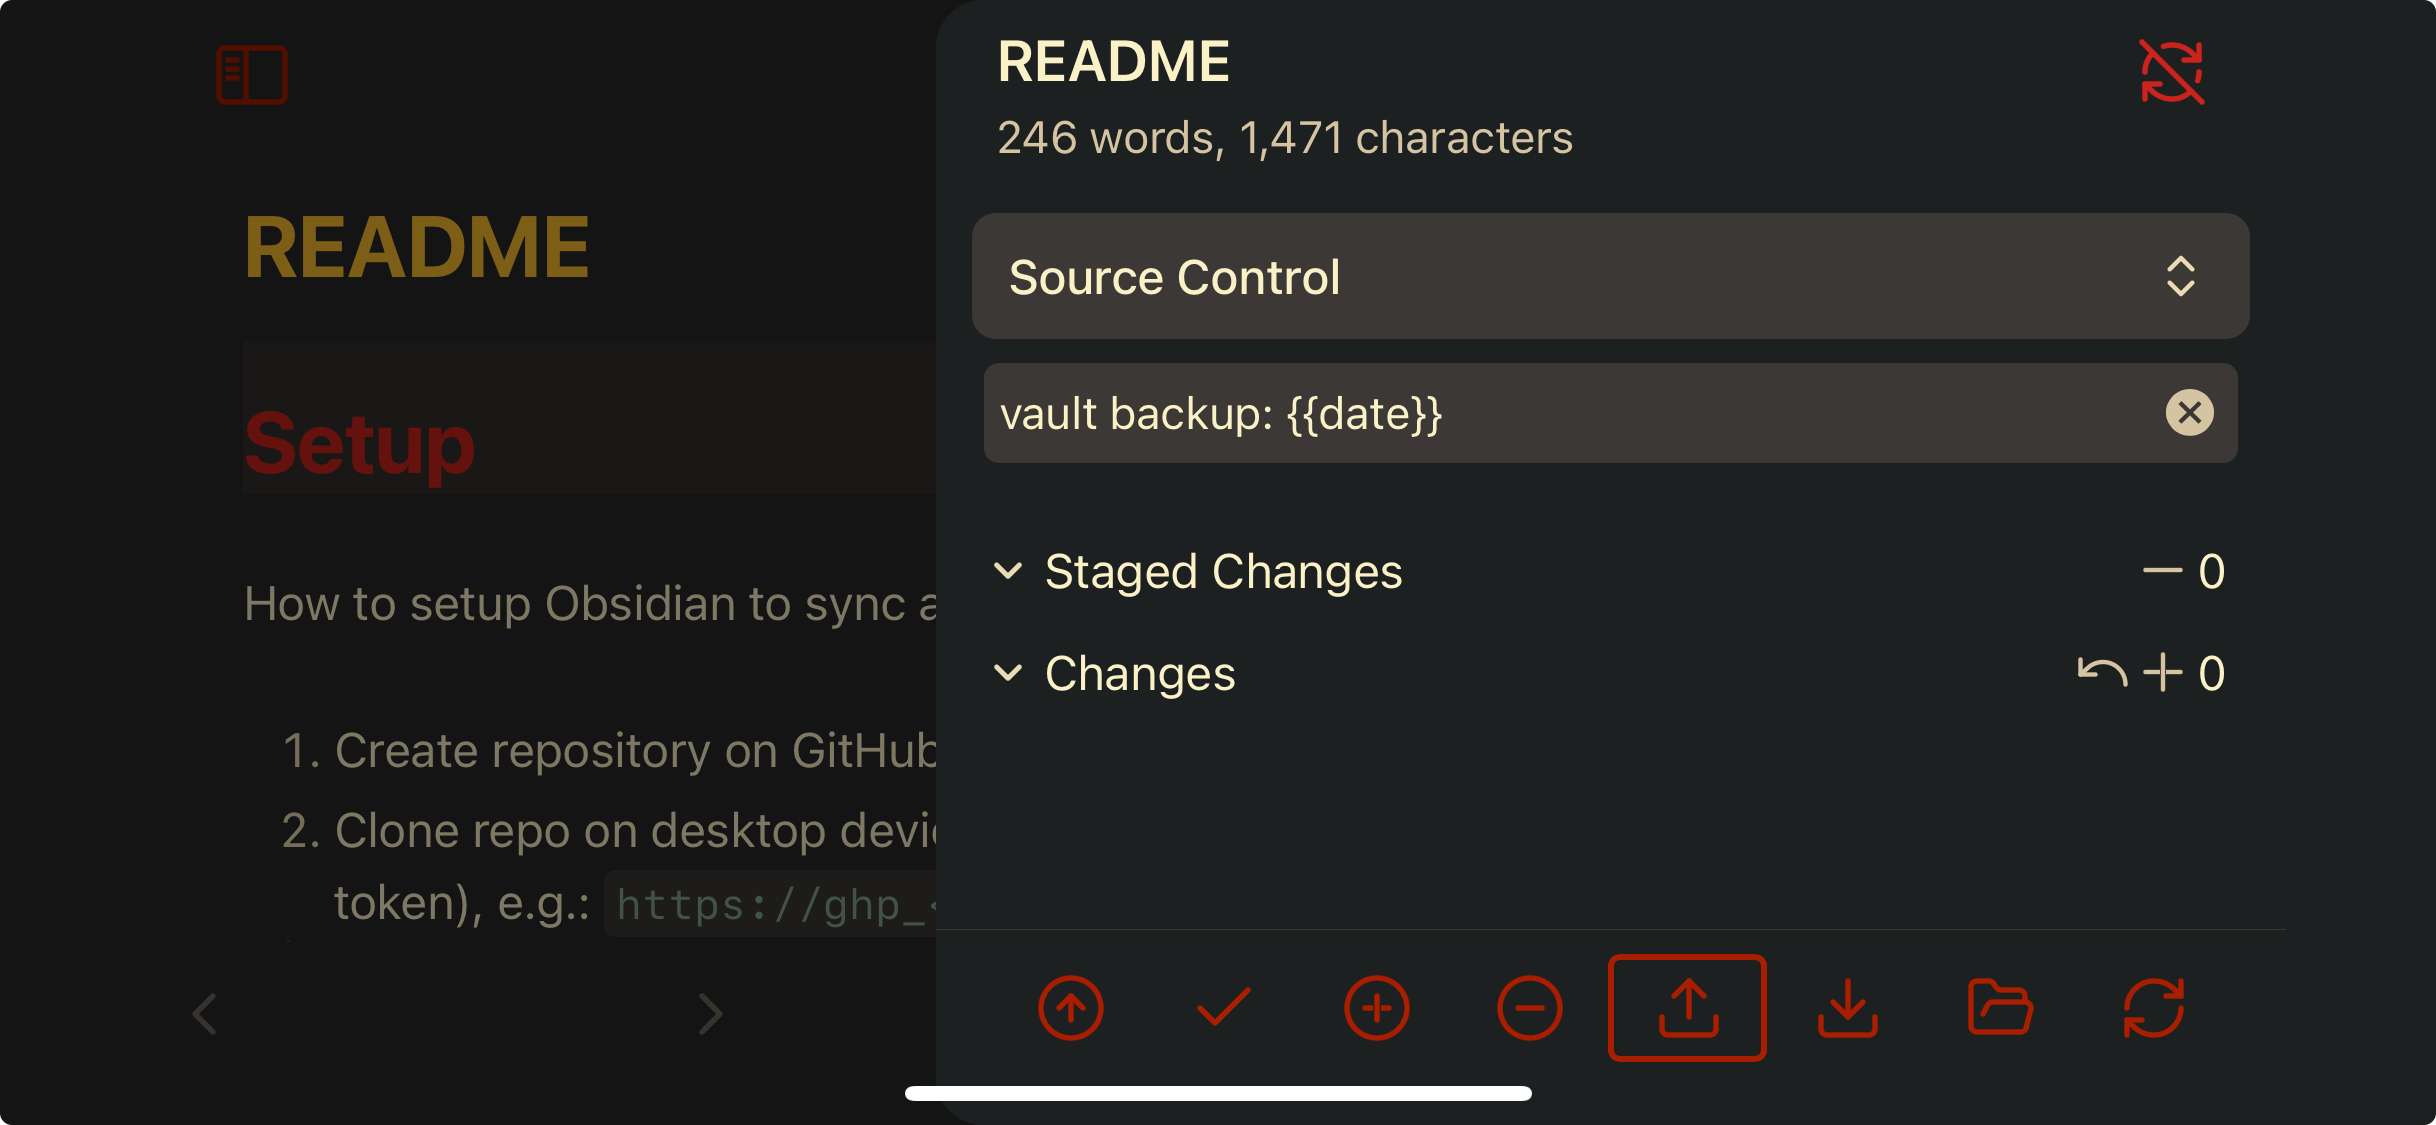
- Create repository on GitHub and initialise it with a README.md
- Clone repo on desktop device using HTTPS and a GitHub PAT (must be classic token), e.g.
https://ghp_<token>@github.com/<user-name>/<repo>.git - Suggest making a test commit & push to remote to ensure it’s working, then
git fetchback to local on PC - Launch Obsidian app on desktop, open vault and select the git repository location
- Enable community plugins, install Obsidian-git, enter author name and author email (use the do-not-reply GitHub email)
- Do a test
commit-and-syncin the Obsidian-git panel to validate - Install Obsidian on iOS, create a new local vault. Vault name is unimportant, the purpose is to initialise the
On My iPhone/Obsidian/directory in iOS Files - Copy the repository folder from desktop to iOS device to
On My iPhone/Obsidian/<repo>(initialise the Obsidian vault with the same name, e.g. “notes”, and usereplacewhen copying) - Launch iOS Obsidian app
- Go to Settings > Community Plugins. Enable Community Plugins. Install Obsidian Git
- Enter GitHub username & Personal Access Token (use the same one from step 2)
- You should see status messages that your repo is synced
- Navigate to your README.md, make a test edit and use the git panel (swipe left from right side of screen), make a test
commit-and-push