Setting Up Obsidian for iOS
Setting up Obsidian to sync between PC and iOS devices as a GitHub repository
How to set up an Obsidian to sync a vault with a GitHub repository on an iOS device.
I read several guides on this which were ultimate more confusing than they need to be. So, here is my simplified guide. I hope it helps.
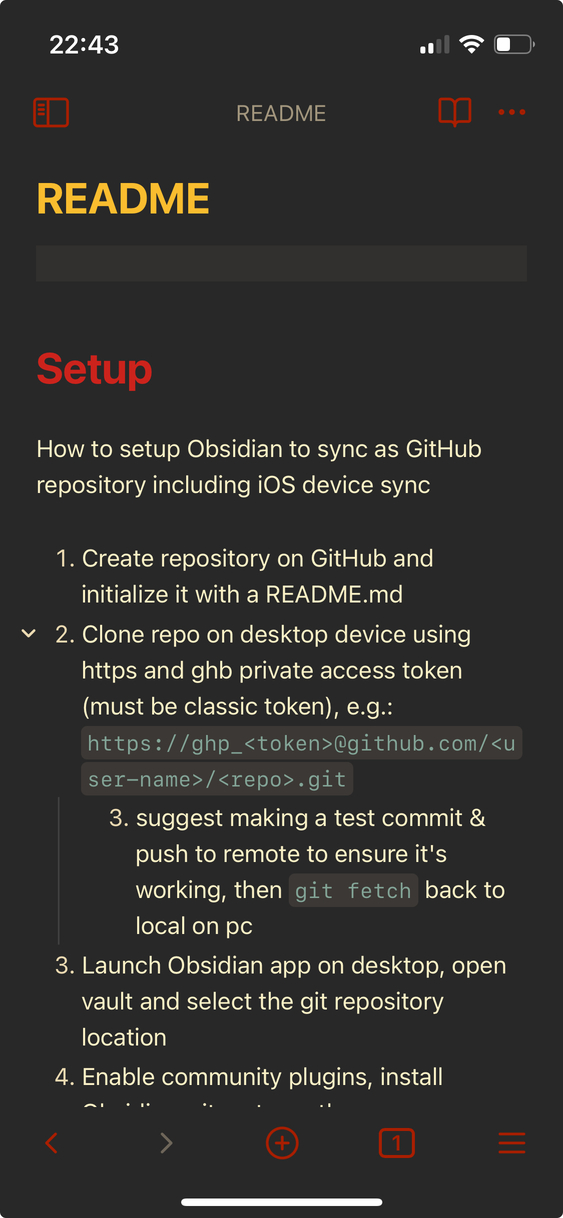
1. Create your vault’s repository
- Create a new GitHub repository.
- Copy the repo URL — use the HTTPS form:
https://github.com/<user>/<repo>.git - Create a personal access token (GitHub user global settings > Developer Setting > Personal access tokens > Tokens (classic))
- Note: It must be a classic token. It will not work with the newer fine-grained token.
- copy the PAT, e.g.
ghp_<your_36_digit_PAT>
4. iOS Setup
- Install and launch the Obsidian app on iOS. Install must be done first as it initializes the Obsidian directory.
- Close the Obsidian app
- install iSH via iOS app store
- Via
iSHapp, clone the repository in the Obsidian directory. You must use thehttpmethod for connecting to GitHub (not because it’s not possible to set up ssh keys on iOS with iSH, but because the Obsidian git plugin does not support ssh.)
cd ~/Obsidian
git clone https://github.com/username/repo.git
When prompted for credentials, use your user name and the PAT you generated before:
git clone https://github.com/username/repo.git
	Username: your_username
	Password: your_token
iSH Setup
You will eventually need to use iSH for merge conflicts, etc. Use git’s credential store to avoid having to enter the PAT token on password prompt:
# 1) Tell Git to use the store helper and where to keep the file
git config --global credential.helper "store --file ~/.config/git/credentials"

# 2) (Optional) pre-set your GitHub username to avoid extra prompts
git config --global credential.username YOUR_GITHUB_USERNAME

# 3) Create the credentials file with tight perms
mkdir -p ~/.config/git
touch ~/.config/git/credentials
chmod 600 ~/.config/git/credentials
Now do one HTTPS operation (e.g., git fetch or git push) and enter:
- Username: `YOUR_GITHUB_USERNAME`
- Password: `<your PAT>`
Git will write a line like this to ~/.config/git/credentials:
`https://YOUR_GITHUB_USERNAME:PAT_HERE@github.com`
2. Desktop Setup
- Clone the repository, use whichever authentication method you prefer (e.g. ssh)
- Either add the whole
.obsidian/directory to your.gitignore(see below) or at least ignore the content of the Obsidian git plugin if you’re using it. It will mess up your iOS setup.
Notes
- If you are moving between multiple devices with different operating systems, especially if iOS is involved, I strongly suggest adding the entire
.obsidian/directory to.gitignore. You’ll need to manage your locally Obsidian configurations manually for each device, but that’s not a lot of work. You will otherwise spend a bunch of time managing merge conflicts related to Obsidian files and plugins.
.obsidian/core-plugins.json
GPG + Obsidian Setup (macOS + iOS)
Obsidian (gpgCrypt plugin)
To work with iOS, use OpenPGP.js backend setting in the gpgCrypt plugin settings. Generate keys with plugin, copy keys created in vault (e.g. .keys/pub.asc, .keys/sec.asc) to other devices.
Add keys, or *.asc to .gitignore
On desktop (e.g. macOS), configure GnuPG CLI Wrapper backend settings:
- Path:
/opt/homebrew/bin/gpg - Select your imported GPG key.
and, VOILÀ, finally notes markdown notes with gruvbox theme synced across iPhone and my computers 🥹